
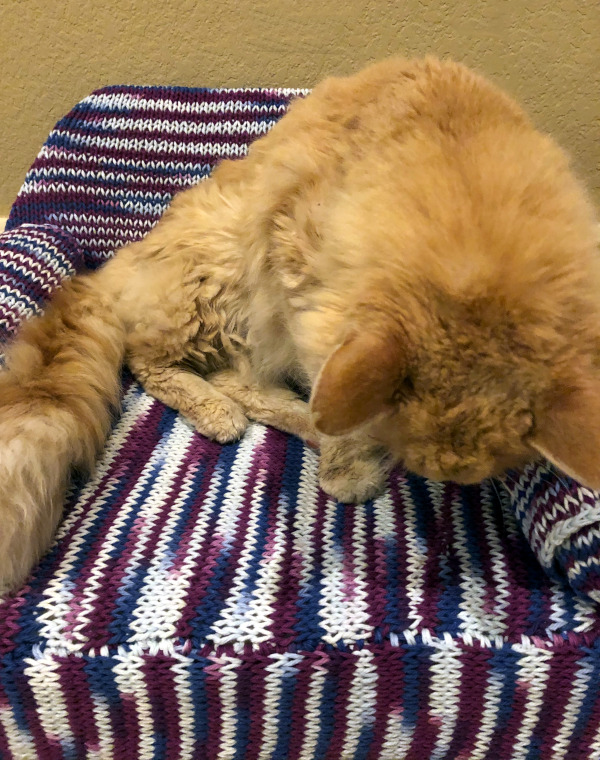
Have you ever seen a cat couch? It’s a mini version of a normal couch, meant for a cat (or, I suppose, a small dog, though that lacks the alliteration). Because of course cats deserve their own furniture.
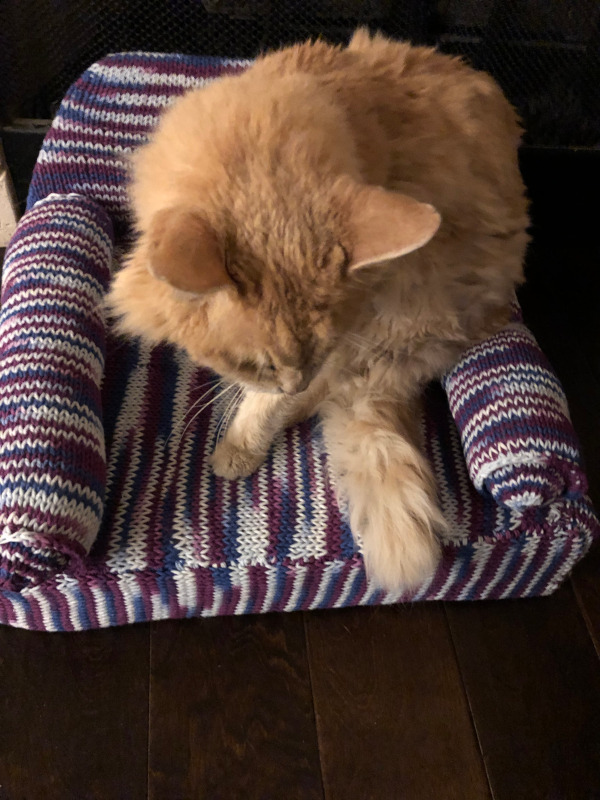
This is more of an outline of how you might knit a cat couch for your cat than it is a strict knitting pattern because I don’t know how big your cat is or how large of a couch you might want to knit. My cat is really not into it but that should not be taken as an indication that your cat won’t love their own little chair that looks like a people couch.
Planning your Cat Couch
To start, you need a cat, and a box that you can turn into a suitable sized couch for your cat.
I used a box from Amazon (of course!) that is about 20 inches long, 14 inches deep and 4 inches tall. In addition to a box you’ll need some batting and, of course, yarn. I used most of a cone of Lily Sugar’n Cream yarn
, probably around 675 yards. How much you will need depends on the size of your box.
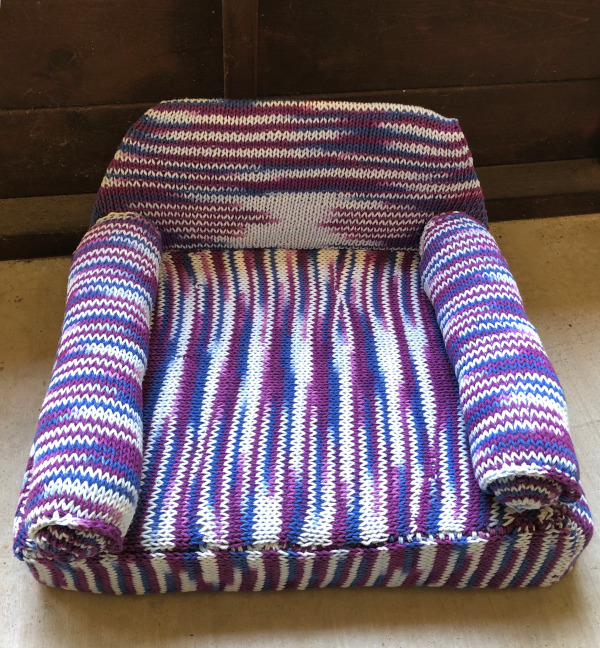
I made my cat couch — admittedly it’s more of a chair because my cat is big — by first knitting a strip the width of the height of the box, long enough to go all the way around. Then I knit a large rectangle to cover the top of the box (what’s the base of the chair. I also knit flat circles and rectangles I assembled into arms, then cut out a back from a flap of the box and knit a piece to that shape.
The key to all these numbers, of course, is the size of your box and your gauge. I was getting about 4 stitches per inch. I used my knitting machine for most of these pieces, and size 7 US knitting needles for the rest. You can knit it all by hand that just made it a little faster.
Cat Couch Knitting Pattern
Once you have determined your gauge you can figure out the exact measurements for your cat couch, or use mine if you happen to have a box the same size.
For the bottom edge of the couch: cast on 16 stitches. Work in Stockinette Stitch until piece measures 68 inches, or the size needed to wrap all the way around the outside edges of your box. Bind off.
For the “seat”: cast on 56 stitches. Work in Stockinette Stitch until piece measures 20 inches. Bind off.
For the arms: you will need four flat circles and two flat rectangles total. To make the circles, cast on 7 and divide onto 3 double-pointed needles. round 1: knit in the front and back of each stitch (14). round 2 and 3: knit. round 4: *knit 1, knit in the front and back, repeat from * around (28). round 5 and 6: knit. round 7: *knit 2, knit in the front and back, repeat from * around (42). round 8 and 9: knit. Bind off loosely. For the rectangles, you can knit in either direction. I went from the short end so I cast on 36 and worked in Stockinette Stitch until the piece was long enough to go all the way around one of the circles.
For the back: I cut off one of the longer-edge flaps on the box and cut a curve into the top so it looked like the back of a chair. This piece is going to be the most improvised in terms of a pattern because it depends on what you want your back to look like.
I cast on 75 stitches and worked in Stockinette Stitch, increasing one stitch on each end of each right side row until about halfway up the length of the back, then every second right side row a few more times. Here it will depend on the shape and size of your back exactly what you need to do. Use the cut out as a guide. I knit a couple of inches straight at the top then increased at the same rate until I was back to 75 stitches. I knit an extra inch on the back to help with assembly.
Putting it Together
First, assemble the base. I wrapped my box in a couple of layers of batting and stapled it to the box. That way I felt like it was secure without having to knit a piece to cover the bottom of the box.
For the arms, I cut batting to roughly the length of my rectangle and rolled it up to make a nice arm filling.
I cut a piece that would wrap around the back and folded down the edges to match the curve of the cardboard piece. You can staple this too if you like.
Now on to assembly. I used single crochet to connect some most of the pieces but you can do it however you like. I first attached the bottom edge to the seat, then sewed the ends of the bottom edge together.
Fold your back piece in half (remembering there is extra length on the back) and begin sewing the side seams from the top down. Slide the cardboard piece in and, when the sides are closed, sew the back to the back of the main couch piece using the tab of knitting. I sewed mine across the back, then across the front to close the seam, then across the back again to make it more stable.
I did the first pass before the base was on the box, but then slipped the form onto the box to finish the sewing so I knew everything was fitting right.
Sew each arm rectangle into a tube, then sew a circle onto one end, add the batting (or stuffing) and sew the circle on the other end. Sew the end of each arm to the back of the couch and secure the arm to the base of the couch as well.
If you try this I would love to hear about it!
Looking to chat about Knitting and Patterns? Check out our Facebook Knitting page and our Facebook group dedicated to Knitting and Knitting Patterns.


Thank you for this! I’ve only been able to find crochet patterns for cat couches and I suck at crochet!
Yeah! Hope you enjoy!