If you have been seeing beautifully finished knitted hats, sweater necklines and cuffs that seem to flow magically over the edge without an obvious cast-on row, there is a very good chance you are looking at an Italian cast on.
And yes, it is one of those knitting techniques that looks slightly terrifying when someone demonstrates it at full speed.
There is yarn swooping around a needle, stitches that don’t quite look like stitches yet and that tiny voice in your head saying, I could just use long-tail cast on and nobody would ever know.
You absolutely could.
But once you learn the Italian cast on for knitting, it gives 1×1 ribbing such a beautifully polished finish that you may find yourself looking for excuses to use it.
What Is The Italian Cast On?
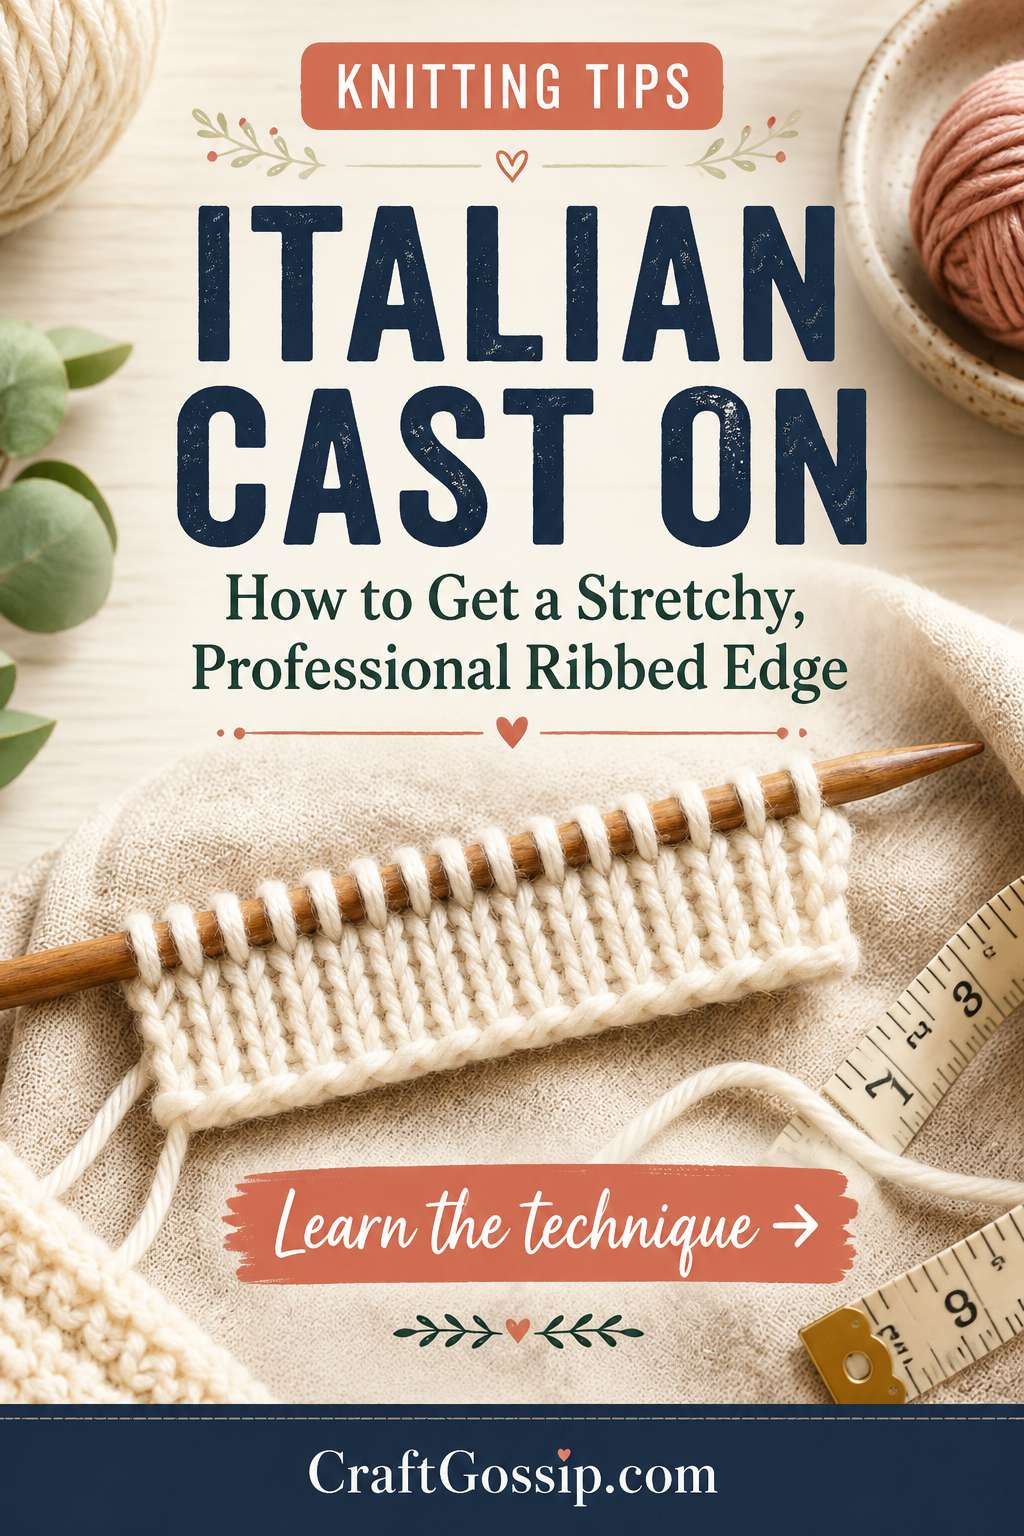
The Italian cast on is a stretchy knitting cast-on method designed particularly well for 1×1 ribbing.
Instead of creating a firm row underneath your knitting, the cast-on forms alternating knit and purl stitches so the ribbing appears to continue right around the bottom edge.
The result is:
- stretchy
- neat
- rounded
- almost invisible
- professional-looking
It is particularly lovely when you are knitting something where the cast-on edge is going to be very visible.
Think hat brims, sweater cuffs, sock cuffs and fitted necklines.
If you are still getting comfortable with ribbing itself, have a look at our guide to knitting ribbing and how it works before tackling this one.
Italian Cast On vs Tubular Cast On
This is where knitting terminology gets slightly messy.
You will often see the terms Italian cast on, Italian tubular cast on and even long-tail tubular cast on used almost interchangeably.
There are also tutorials that distinguish between them.
Generally, the Italian method refers to the special cast-on movement that places alternating knit and purl stitches onto the needle.
Some knitters then work one, two or several tubular setup rows before beginning the normal 1×1 rib.
Those setup rows help develop that beautifully rounded tubular edge.
So if your knitting pattern says:
Italian cast on
or
Italian tubular cast on
read the pattern’s setup instructions carefully rather than assuming every designer means exactly the same thing.
That little detail can save a considerable amount of frogging.
Ask me how every knitter learns that lesson.
Why Use An Italian Cast On?
The biggest advantage is elasticity.
Traditional cast-ons can sometimes create a firm cord along the bottom of your knitting.
That is perfectly fine for lots of projects.
It is considerably less fine when you have knitted a gorgeous hat and then discover the brim will not stretch over your head.
The Italian cast on allows the edge to stretch much more naturally with 1×1 ribbing.
It also looks gorgeous.
There is no obvious horizontal chain running beneath your ribbing. Instead, the columns of knit stitches appear to roll smoothly around the edge.
That is why you often see this technique used in professionally designed knitwear.
Best Projects For The Italian Cast On
Try the Italian cast on when knitting:
Beanie and Hat Brims
This may be my favourite place to use it.
A ribbed hat brim needs enough stretch to comfortably go over the head while still springing back into shape.
Sweater Cuffs
Those lovely fitted ribbed cuffs on hand-knitted sweaters look particularly polished with an Italian cast-on edge.
Sweater Hems
If a sweater begins at the bottom and uses 1×1 ribbing, this technique creates a much softer-looking transition than a conventional cast on.
Necklines
Bottom-up sweaters with ribbed neck treatments can benefit from the extra stretch.
Sock Cuffs
Stretch is obviously important here too. Nobody wants to spend hours knitting a beautiful sock only to discover the cuff behaves like a tourniquet.
Ribbed Cowls
The finish works beautifully on simple ribbed cowls where there isn’t much else distracting from the edge.
You can also browse these easy knitting patterns for practising ribbing if you want a project where you can put your newly acquired ribbing skills to work.
How To Work An Italian Cast On
There are several versions of the Italian cast on, and patterns sometimes specify exactly which setup they want you to use.
The basic long-tail version works like this.
1. Leave A Long Yarn Tail
Leave approximately three times the width of the finished cast-on edge.
I tend to leave myself a little extra because playing yarn chicken before you have even knitted Row 1 is not the sort of excitement we need.
2. Hold The Yarn Long-Tail Style
Arrange the yarn between your thumb and index finger in the familiar slingshot position used for a traditional long-tail cast on.
Your tail sits around your thumb and your working yarn around your index finger.
3. Form The First Stitch
Place the first loop onto your needle according to the Italian cast-on variation you are following.
Some methods begin with a slip knot while others avoid one.
4. Cast On A Knit Stitch
Move the needle under and around the strands so the yarn forms what will become a knit stitch.
Don’t pull it tightly against the needle.
5. Cast On A Purl Stitch
Reverse the movement to create the next stitch.
This creates the alternating structure:
knit, purl, knit, purl
that will eventually become your 1×1 ribbing.
6. Continue Alternating
Repeat the knit-stitch and purl-stitch cast-on movements until you have the required number of stitches.
For standard 1×1 ribbing you will commonly be working with an even number of stitches, although odd stitch counts can also be accommodated depending on the pattern and edge stitches.
7. Secure The Final Stitch
The final stitch needs to be secured because these freshly cast-on stitches are considerably more mobile than a conventional cast on.
Follow the finishing method used in your chosen Italian cast-on variation.
What Happens After The Cast On?
This is the important bit.
Check your pattern.
Some patterns begin normal ribbing almost immediately.
Others use tubular foundation rows in which you knit the knit stitches and slip the purl stitches with the yarn held in front.
You may also need to knit initially twisted knit stitches through the back loop to correct their orientation.
This is not a mistake.
Italian cast-on stitches can look slightly strange sitting on the needle before those first setup rows are complete.
Resist the urge to declare disaster too early.
After a few rows the edge begins to settle into that lovely rounded finish.
Should You Work The Italian Cast On In The Round?
You can use the Italian cast on for knitting in the round, but there is one beginner trap worth knowing about.
The cast-on edge is extremely flexible and can twist easily around a circular needle.
One very practical solution is to cast on and work the tubular setup rows flat first, then join your knitting in the round.
It is much easier to see that everything is facing the right direction before joining.
A twisted 100-stitch sweater neckline is the sort of mistake you only need to make once.
My Biggest Tip: Practise With Boring Yarn
This is not the moment to pull out black mohair.
Use smooth, light-coloured yarn with good stitch definition while you learn the movements.
A basic wool or wool-blend yarn works beautifully. If you’re stocking your knitting basket anyway, this is an easy technique to practise with an inexpensive smooth yarn from Mary Maxim, rather than using the beautiful hand-dyed skein you have been guarding for three years.
You also don’t need an entire project.
Cast on about 20 stitches and make a small ribbing sample.
Once your hands understand the movement, the technique becomes dramatically easier.
Keep Your Cast-On Stitches Loose
One of the most common Italian cast-on mistakes is pulling every stitch tightly against the needle.
The loops need enough room to move.
Aim for even rather than tight.
If you tend to cast on very tightly, experimenting with a slightly larger needle can help while you learn, although always follow the needle recommendations for a specific garment pattern when fit matters.
A smooth circular needle also makes practising much easier than fighting sticky yarn against a rough needle. This is one of those knitting techniques where decent needles really do reduce the frustration factor, so it’s also a natural place to use your favourite Amazon knitting needle recommendation.
Why Does My Italian Cast On Look Messy?
Because you have only just cast it on.
Seriously.
The first stage can look alarmingly loose.
Before ripping everything out, work the required setup rows and a few rows of 1×1 ribbing.
Then look at the edge.
It usually becomes considerably neater once the surrounding stitches have some structure.
Common Italian Cast-On Problems
My Stitches Keep Falling Apart
The cast-on stitches are not locked together in quite the same way as a conventional cast on.
Keep gentle tension on the yarn and make sure your final stitch is secured.
My Knit And Purl Stitches Are In The Wrong Order
This is probably the easiest mistake to make.
Stop every few stitches and look at the yarn structure rather than blindly continuing across 120 stitches.
Practising with two contrasting strands can also help you understand the movements before returning to a single colour.
My Edge Isn’t Stretchy
You may simply be casting on too tightly.
The Italian cast on should complement the stretch of the ribbing, not restrain it.
My First Row Looks Twisted
Depending on the version you use, your knit stitches may initially sit twisted on the needle.
The setup instructions may tell you to knit these stitches through the back loop to correct them.
Follow the method specified by your tutorial or pattern rather than automatically working every stitch normally.
My Circular Knitting Is Twisted
Work your foundation rows flat and join afterward.
It isn’t cheating.
It is sanity preservation.
Can You Use Italian Cast On For 2×2 Rib?
The straightforward Italian cast on naturally sets you up for 1×1 ribbing because you are alternating knit and purl stitches.
It is possible to adapt tubular techniques for 2×2 ribbing, usually by rearranging stitches after the cast-on or using a method specifically designed for 2×2 rib.
If you’re learning the technique for the first time, I would master 1×1 first.
There is no prize for making your knitting unnecessarily complicated.
Italian Cast On Or Long-Tail Cast On?
Both are worth knowing.
Use long-tail cast on when you want:
- a reliable everyday cast on
- a relatively firm edge
- a fast familiar technique
- an edge that doesn’t need extreme stretch
Try Italian cast on when you want:
- very neat 1×1 ribbing
- good elasticity
- an almost invisible cast-on edge
- a professional-looking hat, cuff or hem
There is nothing wrong with substituting a simpler stretchy cast on when a project allows it.
But visually, the Italian cast on really is rather lovely.
What About Fisherman’s Rib?
If you’ve been exploring stretchy knitting stitches, you might also have come across fisherman’s rib.
That produces a thick, squishy fabric and also benefits from having a suitably stretchy edge.
Our guide to how to knit fisherman’s rib explains how the stitch works and why choosing the right cast on and bind off matters with stretchy knitting.
The Italian cast on is most naturally paired with ordinary 1×1 rib, but learning how different cast-ons behave is one of those small knitting skills that makes a surprisingly big difference to finished projects.
Is The Italian Cast On Beginner Friendly?
I would call it confident-beginner friendly.
You don’t need advanced knitting skills.
You do need to be comfortable holding yarn and manipulating your needle while maintaining fairly even tension.
And you’ll probably need to watch the movement slowly a few times before your hands understand what your brain is asking them to do.
That is perfectly normal.
Practise 15 or 20 stitches.
Rip them out.
Do it again.
After a few attempts you’ll suddenly realise your hands have started doing the movement without quite so much supervision.
That is usually the point where a knitting technique moves from absolutely ridiculous to why didn’t I learn this years ago?
And once you see that beautifully rounded little row of 1×1 ribbing coming off your needles, I suspect the Italian cast on will earn a permanent place in your knitting toolbox.