 Today we’re ready to dive into the stash and start organizing it in a meaningful way for using it in projects.
For the most part when I think of using up stash I mean the little odds balls left over from projects, up to a full skein you might have bought for some unknown purpose that is now just taking up space in your stash.
Of course you can also have multiple balls of the same sort stashed, too, but in that case you probably already know what the yarn is and you might even have some idea of what you want to do with it.
For now, set multiple balls that still have their ball bands aside. We’re looking at the odd balls today. 
Before you can decide what project you want to make with your odd balls and extra bits, you need to know what you have and have and you may also want to have some idea of how much yarn you have. I try to keep all my odd balls together and organized more or less by weight, so if I want to work on a medium-weight project like my giant stash busting blanket, I have all the little odd balls I might need at the ready.
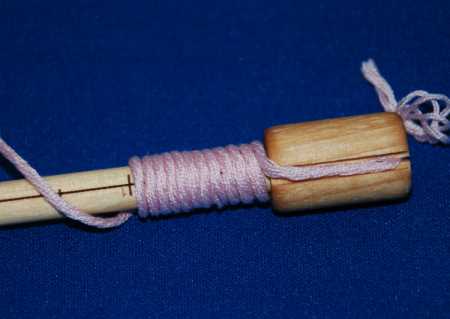
By the way, if you don’t know what weight your yarn might be, grab a ruler or a wraps per inch tool (shown above) and measure the wraps per inch of the fiber, which will get you in the right ballpark.
For a blanket or a scarf you don’t need to know how much yarn you have by yardage, but if you want to make a sweater or a pair of socks or something you might want to know. If your yarn happens to be in hanks, you can actually measure the length and calculate from there. If it’s in balls, and you happen to have a ball band, you can weigh the yarn and do a little math. You can also run it on a yarn swift and count how many times around it goes (measure how much yarn it takes to go around the swift once, then multiply by the number of trips your yarn takes).
These tips will give you a better idea of how much yarn you’re actually talking about so you can more thoughtfully plan a project later. In the meantime, keep organizing those skeins and yarn balls and let me know how it’s going! Have you found any forgotten gems in your stash?
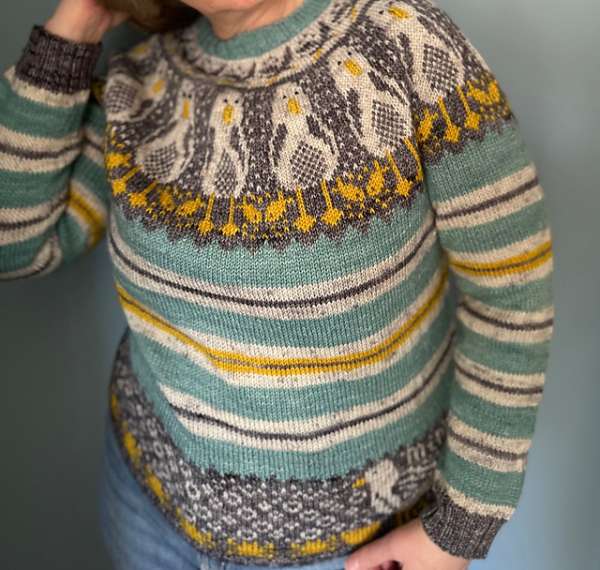
 It’s been well documented that I love a knitting pattern with a bit of whimsy, so when I saw the Mine! Pullover from Sarah L. Kelly recently I knew I had to share it with you.
I think I’m super-organized. My stash is all recorded in Ravelry along with pictures. The one thing I’d like to add this year is measurements of the partial skeins. I just estimated before. I like having it this organized because all I have to do is bring up my listing in Ravelry and see everything. It also helps me match projects with my yarns.
I bought a yardage counter, a ball winder, zip lock bags (all sizes) as nd a note book. As I wind the balls in to nice, neat, center-pull cakes I get the yardage. Then I put a tag on the cake with the yardage and card in the bag with yardage name of yarn, color and any other info I have. I also record this in the notebook snd add a piece of yarn next to the description. I started this but have a long way to go!!!
I have all my stash sorted by weight with the yardage marked in clear plastic cubbies. This way I can see at a glance what I want and not waste a lot of time hunting. I also have a notebook so if I have a project in mind, I can look in the notebook and see which yarn I have enough of for that project.
I tend to keep my stash sorted by fiber content, although all the sock yarn does live together. But I’m a spinner, I imagine I have more oddballs and unlabeled yarn than the average knitter! I’m trying to decide between tags with a string or ball/skein bands for the yarn I’ve made now that I’m experimenting with my hand cards and making custom blends.