 While many knitters will make a scarf or a washcloth as their first knitting project, once you have the basics down you might want to add some shaping. There are lots of different ways to increase (and decrease!) stitches in knitting.
Usually a pattern will tell you which increase you should use, and the designer will have chosen that one for an aesthetic reason. For example: yarn overs make holes. Make 1 looks different from knit in the front and the back, which looks different from just casting on an additional stitch.
So, if the pattern you’re knitting calls for a particular increase, be sure to use that one.
If the pattern doesn’t give you a specific increase to use, you can use the one that you prefer. Knit in the front and back is usually a good choice, but it does leave a little bump so it’s not as invisible as a make 1 stitch.
I wrote an overview of all the most basic increase methods and why you (or a designer, which could also be you) might choose one over another, which you can read over at Our Daily Craft.
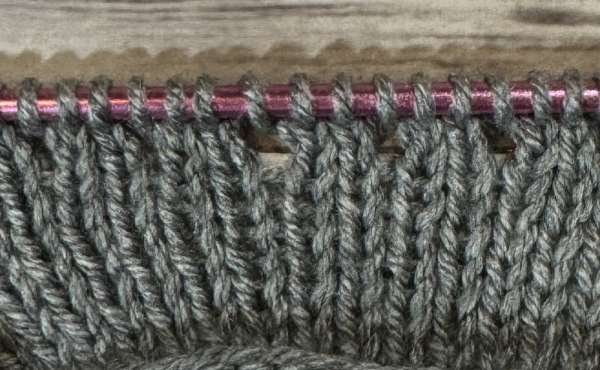
If you’re just learning how to knit and how to do these increases, working through each of them in a swatch like I did for the photos in that post can be helpful because you can get practice and see how the different increase compare visually to each other.
I admit it in that post but if a designer doesn’t specify what increase to use or if I’m just making something for myself and I don’t want to put too much thought into it, I’ll use a backward loop cast on stitch in place of a regular increase. They’re relatively invisible, totally easy to do, and you can do it anywhere it a row or round with no problems.
Do you have a favorite increase method? I’d love to hear about it!
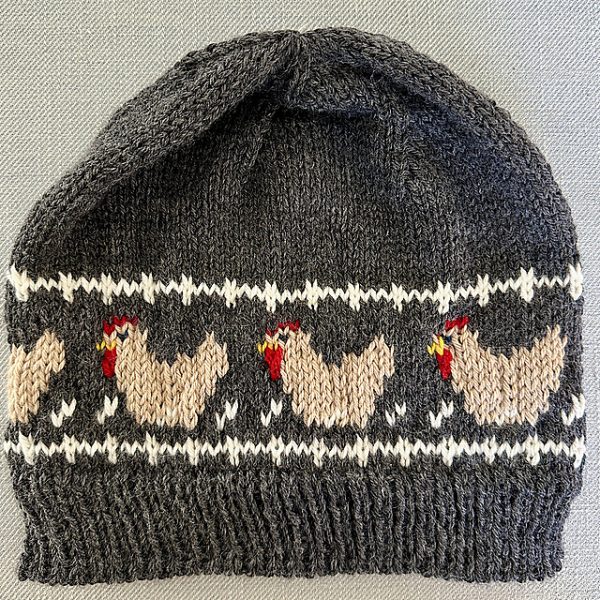
 It’s well known (among knitters, anyway) that knitters seem to love chickens as a motif and a subject of our knitting projects. The Emotional Support Chicken and all the other